Aug 4, 2026
Bokeh With a Kit Lens: 6 Tricks for Creamy Backgrounds on Any Budget

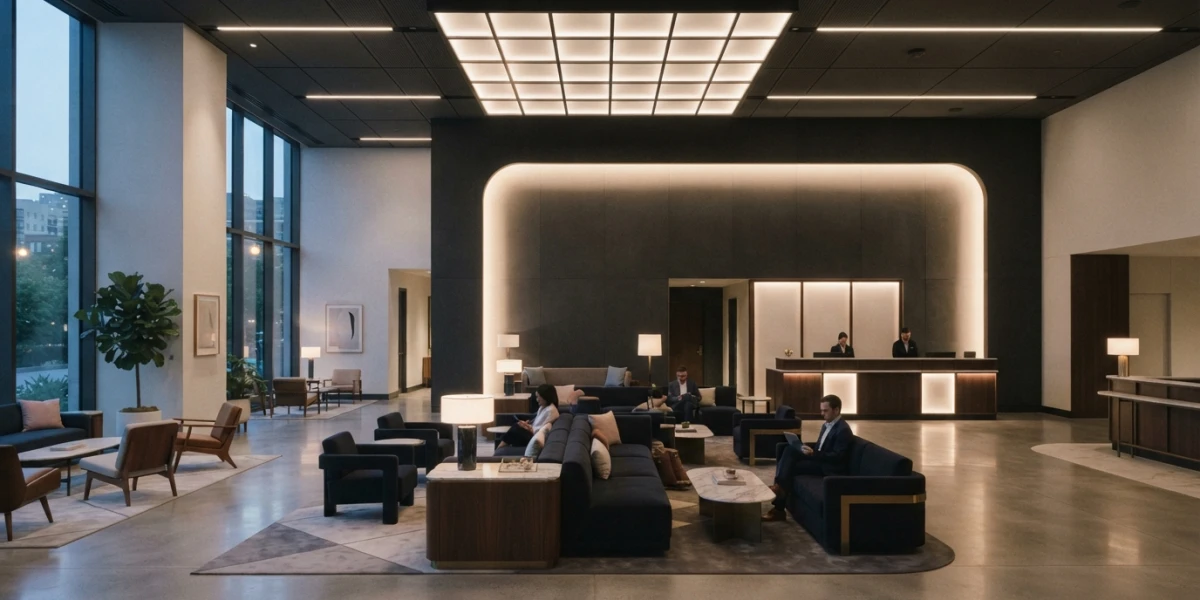
Image generated with AI
Creamy bokeh with a kit lens isn't a luxury reserved for photographers with €2,000 glass. It's physics: aperture, focal length, and distance. Master those three variables and you can shoot dreamy background blur this afternoon — here are the six tricks that make it work.
What Bokeh Actually Is (and What It Isn't)
Before we get to the tricks, a quick clarification. Bokeh is not the same thing as a blurred background. Depth of field describes how much of the scene is acceptably sharp; bokeh describes the aesthetic quality of the parts that fall out of focus, especially the way points of light are rendered as soft, round orbs. A background can be heavily blurred and still look harsh, with busy double lines and nervous edges. Good bokeh is smooth, creamy, and calm — which is exactly why stock buyers gravitate toward it. It separates the subject from visual chaos and gives designers clean negative space to drop typography into.
The Six Tricks
Every trick below works with the lens that came in the box with your camera. Some cost nothing, and the most expensive one costs about €100 used.
Trick 1: Shoot Wide Open
Aperture is the first and most powerful lever. The lower the f-number, the thinner the plane of focus and the softer everything outside it becomes. Switch your camera to aperture priority (Av or A mode) and dial in the lowest number your lens allows — f/3.5 on the wide end of an 18–55mm kit lens, f/5.6 at the long end. It doesn't sound impressive on paper, but at close shooting distances even f/5.6 produces a clearly visible falloff. Wide apertures in the f/1.2–f/2.8 range are where bokeh gets truly silky; anything f/2.8 or wider gives you that shallow look editors love. The kit lens can't go that far, which is why the other five tricks exist.
Trick 2: Zoom to the Long End
Focal length is the second lever, and it's free. A longer lens compresses perspective and magnifies the blur that is already happening behind your subject — Nikon's own tutorials note that longer focal lengths produce more extreme bokeh. On a kit lens, 55mm is your best friend. Set the zoom to its longest setting and step back from your subject to recompose the frame. You lose a little light at f/5.6, but you gain a visibly creamier background than anything you can get at 18mm, where even f/3.5 renders nearly everything sharp.
Trick 3: Get Closer to Your Subject
Distance is the third lever, and it has two halves. The first half: the closer you are to your subject, the shallower the depth of field becomes. Every lens focuses more softly the nearer it works. Fill the frame with your subject — a face, a coffee cup, a product — and the background will melt away even at moderate apertures. On a kit lens this matters double: at 55mm and f/5.6, moving from two meters away to under a meter is the difference between a busy backdrop and a smooth one.
Trick 4: Push the Background Away
The second half of the distance lever is the gap between your subject and the background. Blur grows with every meter you put between them, because the background falls further outside the focus plane. A portrait subject standing right against a hedge stays busy no matter what lens you use; step them a few meters forward and the hedge dissolves into soft color. For a product shot, raise the item off the table with a box or stand so the surface behind it drops out of focus. This is the trick that changes results the most on budget gear — and it costs nothing.
Trick 5: Add a 50mm f/1.8 Prime
If you want the shortcut, this is it. Prime lenses generally open much wider than kit zooms, and the 50mm f/1.8 is the classic budget upgrade: roughly €100 new (less used) for Canon, Nikon, and Sony mounts, and it weighs almost nothing. On an APS-C body it behaves like a ~80mm lens, which is a flattering portrait focal length with the shallow depth of field that makes backgrounds disappear entirely. A 40mm f/2.8 pancake is a great alternative if you want something more compact. One prime won't replace your zoom — it will just become the lens you reach for whenever the shot calls for separation.
Trick 6: Choose a Background That Blurs Beautifully
Not all backgrounds are worth blurring. Busy patterns, dense foliage, and high-contrast stripes turn into nervous, swirly messes when they fall out of focus. Look for backgrounds with even tone and separated points of light — string lights, city lights at night, sun through leaves — because small, distinct highlights become the round orbs that define attractive bokeh. If you're shooting indoors, pull your subject away from the wall and let the depth of the room become the backdrop. You are not just controlling how much the background blurs; you are controlling what it blurs into.
Making Bokeh Work for Stock
This isn't just a technique for pleasing your Instagram feed; it's a commercial asset. Buyers search stock libraries for subject separation constantly. A sharply isolated subject against a creamy background gives designers a natural place to put headlines, logos, and text overlays — which is why hero images with real depth of field outperform flat, busy alternatives. City-light bokeh and festival bokeh are also sold as background textures in their own right, so a well-executed bokeh shot can be licensed two ways: as a portrait with negative space, and as an abstract texture.
One seller's tip from the trenches: deliver both versions. Shoot your subject at f/1.8–f/2.8 for the dreamy look, then stop down to f/5.6–f/8 and shoot it again tack sharp. Some designers need the whole scene crisp so they can cut the subject out and rebuild the background themselves. A series that offers both options earns more downloads than a single pretty frame.
Common Mistakes to Avoid
The first mistake is leaving the background glued to your subject — no amount of aperture will save a shot where the subject and backdrop are a step apart. The second is overdoing it: too much bokeh removes all context and leaves an image that feels disconnected and generic. A hint of environment tells a story; total mush tells nothing. Third, cheap lenses can render nervous, double-edged bokeh, so favor small, separated light sources over big blown highlights if your glass is soft. And fourth, never forget the focus itself: with a razor-thin plane of focus, the eyes (or the product's key detail) must be the sharpest thing in the frame, or the whole effect reads as a mistake.
Conclusion
Bokeh was never about the price tag on the lens. Shoot wide open, zoom to 55mm, get closer to your subject, push the background away — and if you can spare €100, let a 50mm f/1.8 do the heavy lifting. Those are the levers that turn a kit lens into a portrait machine. If you want to see what strong subject separation looks like in practice, explore the YourPhotoStock collection: every image there was chosen with buyers' design needs in mind, from creamy portrait backgrounds to crisp, cut-out-ready detail shots.
Related articles


Looking for the perfect stock photo?
Browse thousands of premium photos and 4K videos, pay per download.
Browse the collection